-
×
 Acoustic Guitar Pick Holders - SVG Laser Cut File, Mediator Box Vector Plan
Downloadable- Sold by:
-
×
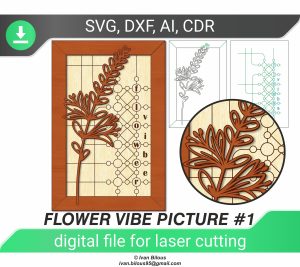 Flower laser cut picture, Glowforge pattern
Downloadable- Sold by:
-
×
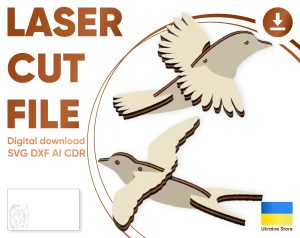 Small Bird Ornaments - Laser Cut File
Downloadable- Sold by:
-
×
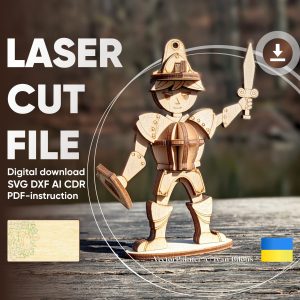 Medieval Knight Miniature - Laser Cut Design with Assembly Instruction
Downloadable- Sold by:
-
×
 Table lamp shape of a Continental Poodle
- Sold by:
-
×
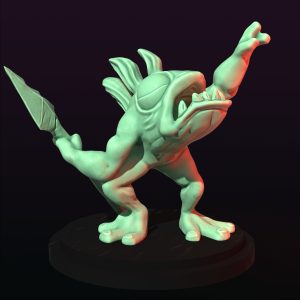 Murloc Headhunter
Downloadable- Sold by:
Subtotal: €60,50


There are no reviews yet.